
Table of Contents
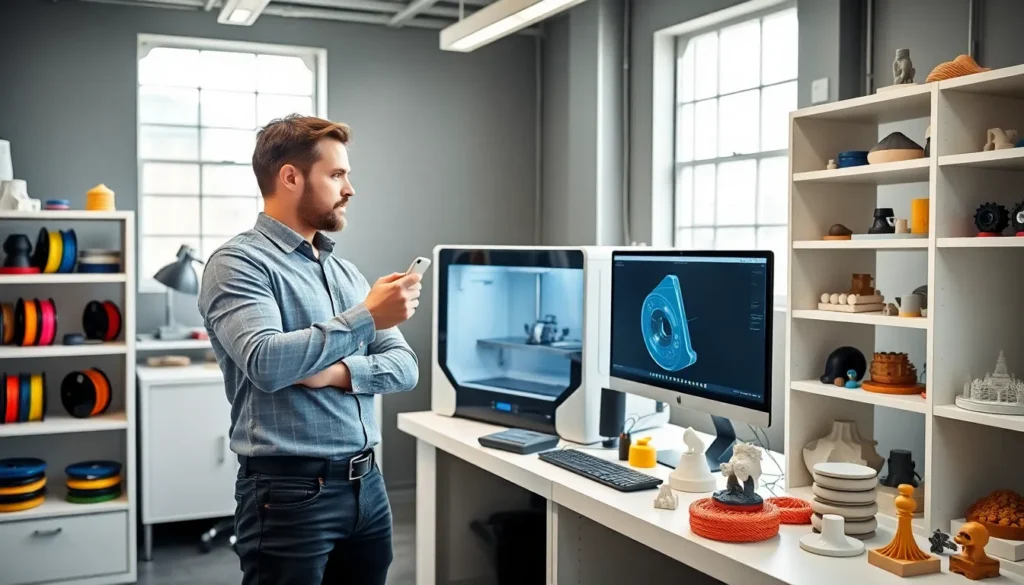
Toggle3D printing strategies can make or break a project. Whether someone is producing functional prototypes or detailed models, the right approach determines print quality, material efficiency, and overall success. Many users jump straight into printing without a plan, and then wonder why their parts warp, crack, or fail to meet expectations.
This guide covers the core 3D printing strategies that deliver consistent, high-quality results. From material selection to post-processing, each step plays a critical role. Readers will learn how to optimize their workflow, avoid common mistakes, and get more from every print.
Key Takeaways
- Effective 3D printing strategies start with matching materials to your project’s specific requirements, including temperature exposure, mechanical stress, and surface finish needs.
- Optimizing print settings like layer height, speed, and temperature prevents common failures such as warping, poor adhesion, and surface artifacts.
- Part orientation on the build plate directly impacts strength and support requirements—orient load-bearing areas parallel to the bed whenever possible.
- Increasing wall count (perimeters) often adds more strength than boosting infill percentage, making it a smarter approach for functional parts.
- Post-processing techniques like sanding, priming, and epoxy coating can transform standard 3D prints into professional-quality finished products.
- Testing calibration prints and tolerances before large production runs saves time, material, and frustration in your 3D printing workflow.
Choosing the Right Materials for Your Project
Material selection is one of the most important 3D printing strategies. The wrong filament or resin can lead to weak parts, poor surface finish, or failed prints entirely.
Common Material Options
PLA (Polylactic Acid) remains the most popular choice for beginners. It prints at lower temperatures, produces minimal warping, and comes in countless colors. But, PLA lacks heat resistance and can deform in warm environments.
ABS (Acrylonitrile Butadiene Styrene) offers better durability and heat tolerance. It requires a heated bed and enclosed printer to prevent warping. ABS works well for functional parts that need to withstand stress.
PETG combines the ease of PLA with improved strength. It resists moisture and chemicals better than both PLA and ABS. Many users consider PETG their go-to material for practical applications.
Resin (for SLA/DLP printers) produces exceptional detail. Standard resins work for display models, while engineering resins handle mechanical loads. Resin printing requires more post-processing but delivers smoother surfaces.
Matching Materials to Applications
Effective 3D printing strategies align material properties with project requirements. A decorative figurine doesn’t need the strength of ABS, PLA will do fine. A mechanical bracket exposed to sunlight needs UV-resistant material like ASA.
Consider these factors when choosing:
- Temperature exposure: Will the part sit in a hot car or near electronics?
- Mechanical stress: Does it need to flex, snap together, or bear weight?
- Surface finish: Is visual quality more important than function?
- Budget: Specialty filaments cost more but may save time on failed prints.
Smart material selection prevents wasted filament and frustration.
Optimizing Print Settings and Parameters
Dialing in the right settings ranks among the most impactful 3D printing strategies. Even premium materials fail with poor parameters.
Layer Height and Resolution
Layer height directly affects print time and surface quality. A 0.1mm layer height produces smooth surfaces but takes twice as long as 0.2mm. For functional parts where appearance doesn’t matter, thicker layers save hours.
Most printers handle 0.12mm to 0.28mm layers well. Going too thin can introduce other problems without visible improvement.
Print Speed
Faster isn’t always better. High speeds cause ringing artifacts on corners and reduce layer adhesion. Most users find 40-60mm/s offers a good balance between quality and efficiency.
Travel speed (when the nozzle moves without extruding) can run faster, 150mm/s or more. This reduces stringing and overall print time without affecting part quality.
Temperature Settings
Nozzle temperature affects layer bonding and stringing. Each material has an optimal range:
- PLA: 190-220°C
- ABS: 220-250°C
- PETG: 230-250°C
Bed temperature prevents warping. PLA prints fine on a 50-60°C bed, while ABS needs 90-110°C.
Infill and Wall Thickness
Infill percentage determines internal density. Most prints don’t need more than 20% infill. Increasing wall count (perimeters) often adds more strength than boosting infill.
These 3D printing strategies around settings optimization require testing. Print temperature towers and calibration cubes to find what works best on each machine.
Design Considerations for Successful Prints
Good design separates successful prints from failures. The best 3D printing strategies start before hitting “print.”
Orientation Matters
How a part sits on the build plate affects strength, surface quality, and support requirements. Layers bond well horizontally but separate more easily under vertical stress. Orient parts so load-bearing areas run parallel to the bed.
Overhangs beyond 45 degrees need support material. Rotating a model can eliminate supports entirely, saving material and post-processing time.
Wall Thickness and Features
Minimum wall thickness depends on the printer and material. Most FDM printers struggle with walls under 1mm. Small features like text should be at least 0.8mm wide and 0.6mm tall to print clearly.
Avoid sharp internal corners. They concentrate stress and often fail during printing. Add fillets (rounded corners) wherever possible.
Designing for Assembly
Parts that snap or screw together need tolerances built in. A 0.2-0.3mm gap between mating surfaces usually works for FDM prints. Test fit designs before committing to large production runs.
These design-focused 3D printing strategies reduce failed prints and improve part performance. A few minutes spent optimizing geometry saves hours of reprinting.
Post-Processing Techniques to Enhance Quality
Post-processing transforms good prints into great ones. This often-overlooked area of 3D printing strategies can dramatically improve appearance and function.
Support Removal and Cleanup
Start by removing support material carefully. Flush cutters and needle-nose pliers help with stubborn sections. For resin prints, proper washing in isopropyl alcohol removes uncured resin before UV curing.
Sanding smooths layer lines on FDM prints. Begin with 120-grit sandpaper and work up to 400-grit or higher. Wet sanding with 600+ grit produces near-injection-molded surfaces on some materials.
Surface Finishing Options
Priming and painting hides layer lines and adds color. Filler primer works especially well, it fills small gaps and creates a smooth base.
Acetone vapor smoothing works on ABS parts. Brief exposure to acetone vapor melts the surface slightly, producing a glossy finish. This technique requires caution and proper ventilation.
Epoxy coating creates durable, waterproof surfaces. Two-part epoxy resins level themselves and cure to a hard shell.
Mechanical Finishing
Threaded inserts add durable metal threads to plastic parts. Heat-set inserts melt into place and hold much better than threads cut directly into plastic.
For functional parts, check dimensions after printing. Most printers produce slightly undersized holes. Drilling or reaming brings them to spec.
Post-processing 3D printing strategies add time but deliver professional-quality results.


